Why Proper Drum Humidifier Installation Matters for Your Home Comfort
Drum humidifier installation is a proven way to combat dry winter air, reduce static electricity, protect wood furniture, and improve your family’s comfort. If you’re tired of scratchy throats, static shocks, or cracking hardwood floors, whole-house humidification can make a real difference. A drum humidifier works by rotating a water-soaked pad through your furnace’s airflow, adding moisture silently and efficiently to every room in your home.
Quick Installation Overview:
- Choose your location – Mount on the return air duct (cold air side) for best results.
- Cut ductwork openings – One for the humidifier, one for the bypass collar.
- Mount the unit – Secure the housing level and attach the drum assembly.
- Connect water supply – Use a reliable ball valve on your cold water line.
- Wire the controls – Install the humidistat and connect 24V wiring to the furnace.
- Test operation – Check for leaks, verify drum rotation, and set the humidity level.
Installing a drum humidifier in North Ogden, UT, requires knowledge of local codes, electrical work, and your HVAC system. While a possible DIY project for those with the right tools, professional installation ensures everything works safely and efficiently. For more on maintaining healthy indoor air, see our Humidification and Dehumidification Importance guide. When you’re ready for expert help, schedule a consultation with our team.
Research shows that maintaining 35-50% relative humidity is ideal for comfort, health, and preserving your belongings. ASHRAE experts confirm that properly humidified air feels warmer, potentially saving you on heating costs.

Before You Begin: Planning and Preparation
Proper planning for your drum humidifier installation prevents frustration and ensures a smooth project. A little upfront preparation makes all the difference.
Safety comes first. Before you begin, read the manufacturer’s installation manual. It contains model-specific instructions and critical safety warnings about electrical and refrigerant lines that you can’t afford to ignore.
Next, check your local codes. Building codes for plumbing and electrical work vary between cities like Layton and North Ogden. A quick call to your local building department can save you from having to redo work.
Also, consider warranty considerations. Most humidifier warranties are voided if you don’t follow the manufacturer’s installation instructions to the letter. If you’re planning a DIY installation, document your process.
This brings up the question: DIY or professional? A drum humidifier installation involves cutting sheet metal, running water lines, and connecting low-voltage circuits. It’s a rewarding project for an experienced DIYer. However, if you’re nervous about the steps, there’s no shame in calling an expert. Our team at Anderson HVAC has over 40 years of experience and has seen what can go wrong. Sometimes peace of mind is worth the phone call.
Choosing the Optimal Location
Where you mount your drum humidifier is crucial for its performance and future maintenance.
Most units work best when installed on the return air duct (the cold air side of your furnace). The cooler air helps with efficient evaporation. While some models can be installed on the supply (warm air) duct, it may be less effective. Always check your model’s manual.
The plenum—the large sheet metal box on your furnace—is the typical mounting spot. Ensure you choose a location with easy access for future maintenance, like replacing pads and cleaning the reservoir.
Mount the unit at least three inches above the furnace body for proper drainage. It must be installed in a conditioned space (like a basement, not a garage) to prevent the water from freezing, which can cause flooding and ruin the unit.
A critical warning: stay far away from your air conditioner’s A-coil. Accidentally drilling into a refrigerant line is dangerous and expensive. Locate the A-coil before you cut.
Finally, your mounting surface must be level. An unlevel unit will cause the float valve to malfunction, leading to poor performance or water overflow.
Tools and Materials Checklist
Gathering everything you need before you start your drum humidifier installation will save you from multiple trips to the hardware store.
For tools, you’ll need tin snips, a drill, a level, screwdrivers, an adjustable wrench, a punch or awl, and wire strippers. Don’t forget safety glasses and gloves.
Your humidifier kit should include the main unit, bypass ducting, a humidistat, and hardware. Here’s a pro tip: throw away the included saddle valve. These are notorious for leaking. Instead, install a proper ball valve or compression stop valve tee for a reliable, leak-free connection.
You’ll also need 1/4-inch copper or plastic tubing for the water supply, 3/8-inch tubing for the overflow drain, and 18-gauge, two-strand thermostat wire for the controls.
Finally, use real foil-backed HVAC duct tape to create airtight seals. Regular duct tape will degrade and fail with temperature changes.
Step-by-Step Drum Humidifier Installation
Now for the hands-on part of your drum humidifier installation. Before you start, put on your safety glasses and, most importantly, shut off the power to your furnace at the circuit breaker. This is a critical safety step. Always use the manufacturer’s template for cutting to ensure precision and avoid mistakes. For more on how these systems work, see our page on Bypass Humidifier North Ogden UT.
Step 1: Preparing the Ductwork
This is where your planning pays off as you modify your ductwork.

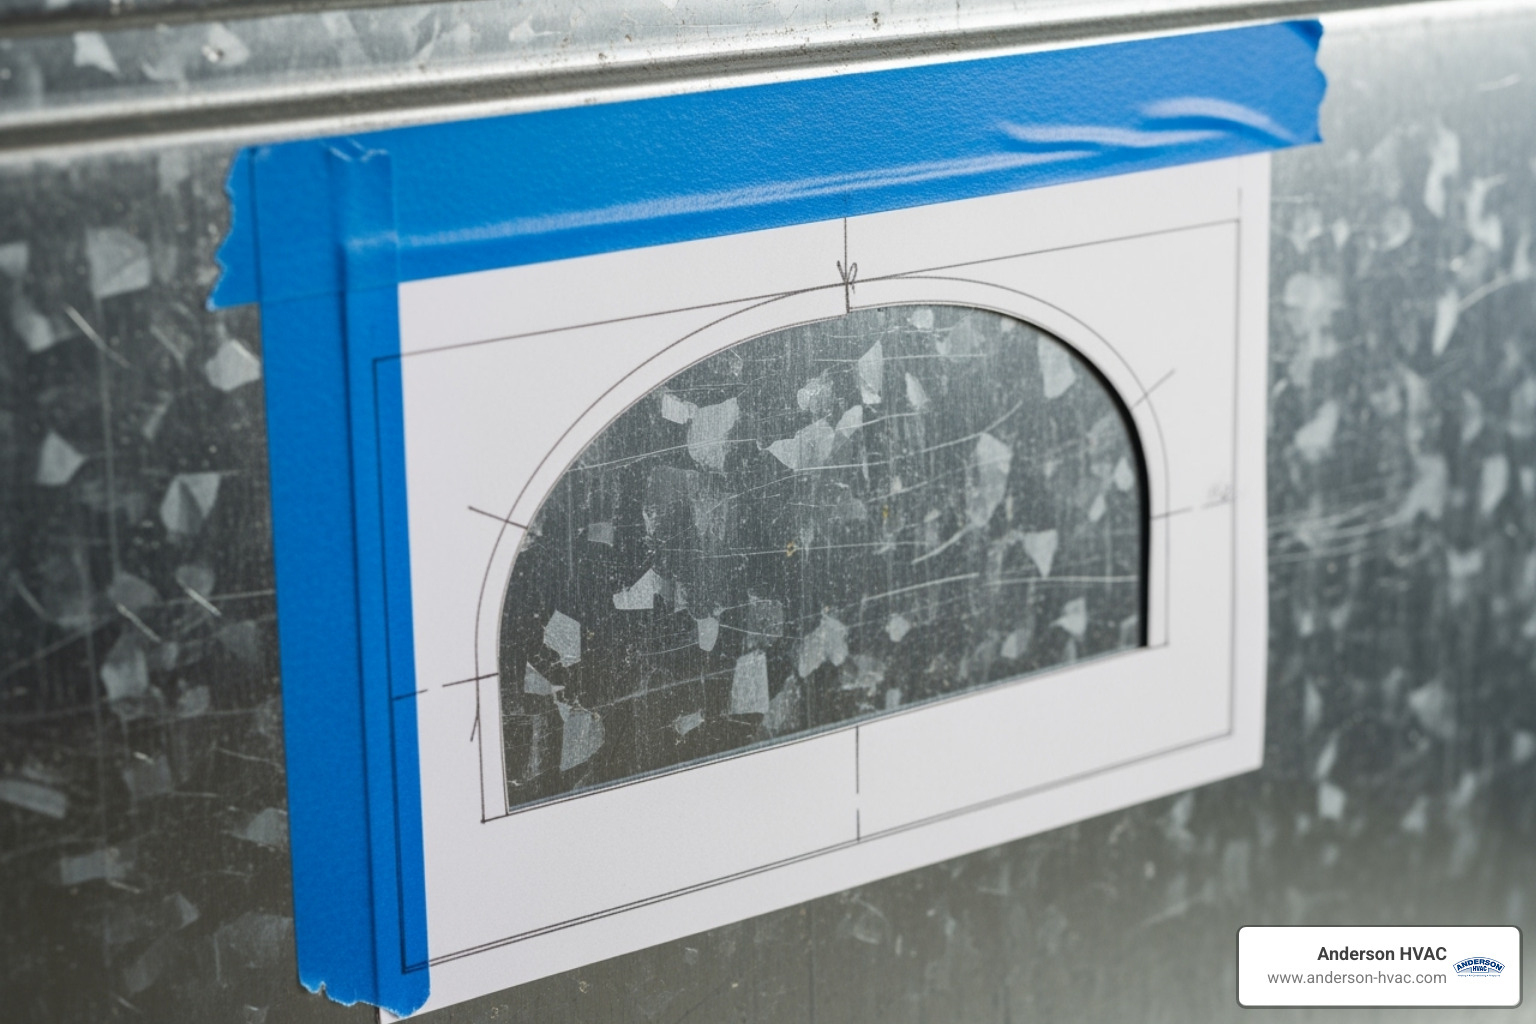
Start by marking the opening. Tape the manufacturer’s template to your chosen spot on the return air duct. Use a level to make sure it’s perfectly horizontal, then trace the outline.
Next, cut the humidifier opening. Use your tin snips to carefully cut along the traced lines. Be extremely cautious to avoid any nearby copper refrigerant lines—nicking one is a dangerous and expensive mistake.
Most drum humidifiers are bypass units, so you’ll need a second opening. Use the template to mark and cut the bypass collar opening on the opposite plenum (usually the supply side).
Now, install the starter collar. Slide it into the bypass opening. Position it so the summer shut-off damper handle is accessible and clearly visible. The damper should be marked for “summer” (closed) and “winter” (open) positions.
Finally, seal everything up. Use foil-backed HVAC duct tape to seal all cut edges and connections. An airtight seal prevents energy loss and improves efficiency.
Step 2: Mounting the Humidifier Unit
With the ductwork prepped, it’s time to mount the humidifier.
Mounting the housing is a precision task. Position the main housing over the opening. Double-check with your level that the unit is perfectly horizontal—this is essential for the float valve to work correctly. Mark, pre-drill, and secure the housing to the ductwork with sheet metal screws.
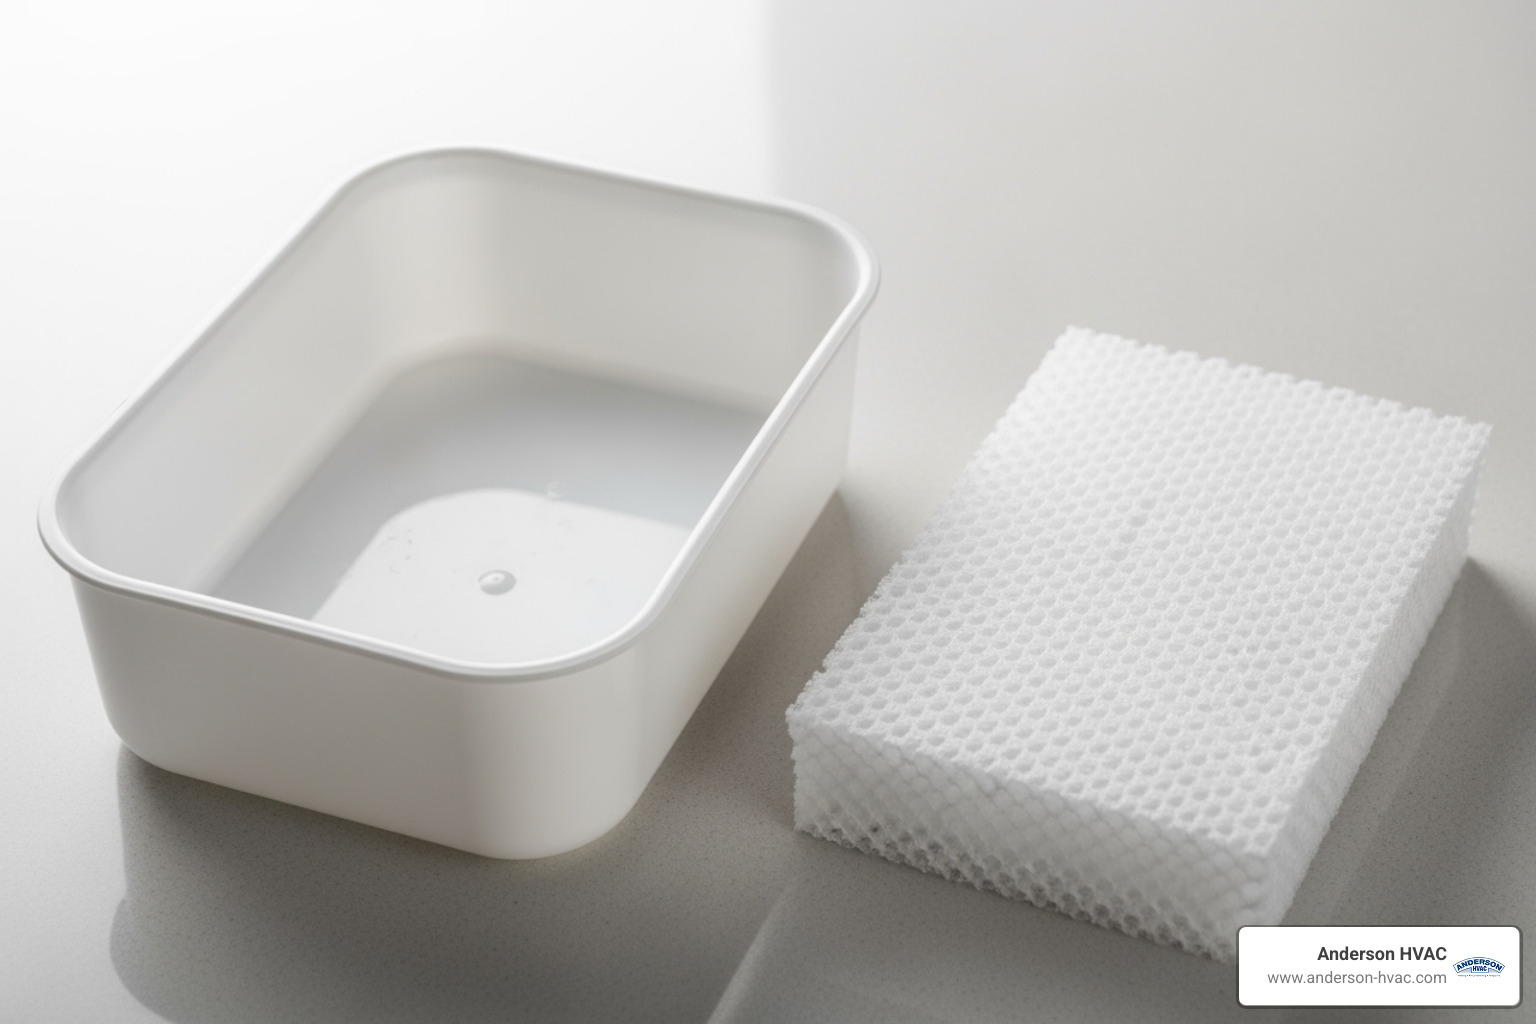
Next, assemble the drum. Coil the evaporator pad into the wire drum cage, following the pad’s natural curve.
Installing the drum and pad assembly is next. Slide the assembled drum onto the motor shaft inside the housing, ensuring the other end rests securely in its holder. Make sure it spins freely.
Finally, attach the bypass duct. Connect the flexible ducting between the humidifier and the starter collar. Secure both ends with clamps and seal the connections with foil-backed tape. Support ducts longer than 4 feet to prevent sagging.
Step 3: Connecting the Water Supply
This step is about getting water to your unit without creating leaks.
Connect to a cold water line, which is what drum humidifiers are designed to use. The line to your water heater is often a convenient choice.
We can’t stress this enough: installing a ball valve is far superior to using the flimsy saddle valves included in many kits. Saddle valves are prone to leaks and failure. A proper ball valve or compression stop valve tee is a reliable investment.
Once your valve is installed, run the water line. Route the 1/4-inch tubing from the valve to the humidifier’s float valve inlet, keeping it away from sharp edges or heat sources.
The float valve connection is simple. Use the compression fittings to connect the tubing. Hand-tighten, then give it a quarter-turn with a wrench. Do not overtighten, as this can crack the fittings.
Don’t forget the overflow drain tube. Connect the 3/8-inch tubing to the drain port and run it with a continuous downward slope to a floor drain. This is your insurance against a float valve failure. To protect your new system from mineral buildup, consider our Filtration North Ogden UT solutions.
Step 4: Wiring the Controls for Your Drum Humidifier Installation
The final piece of your drum humidifier installation is the low-voltage wiring. It’s safer than line voltage, but it must be done correctly.

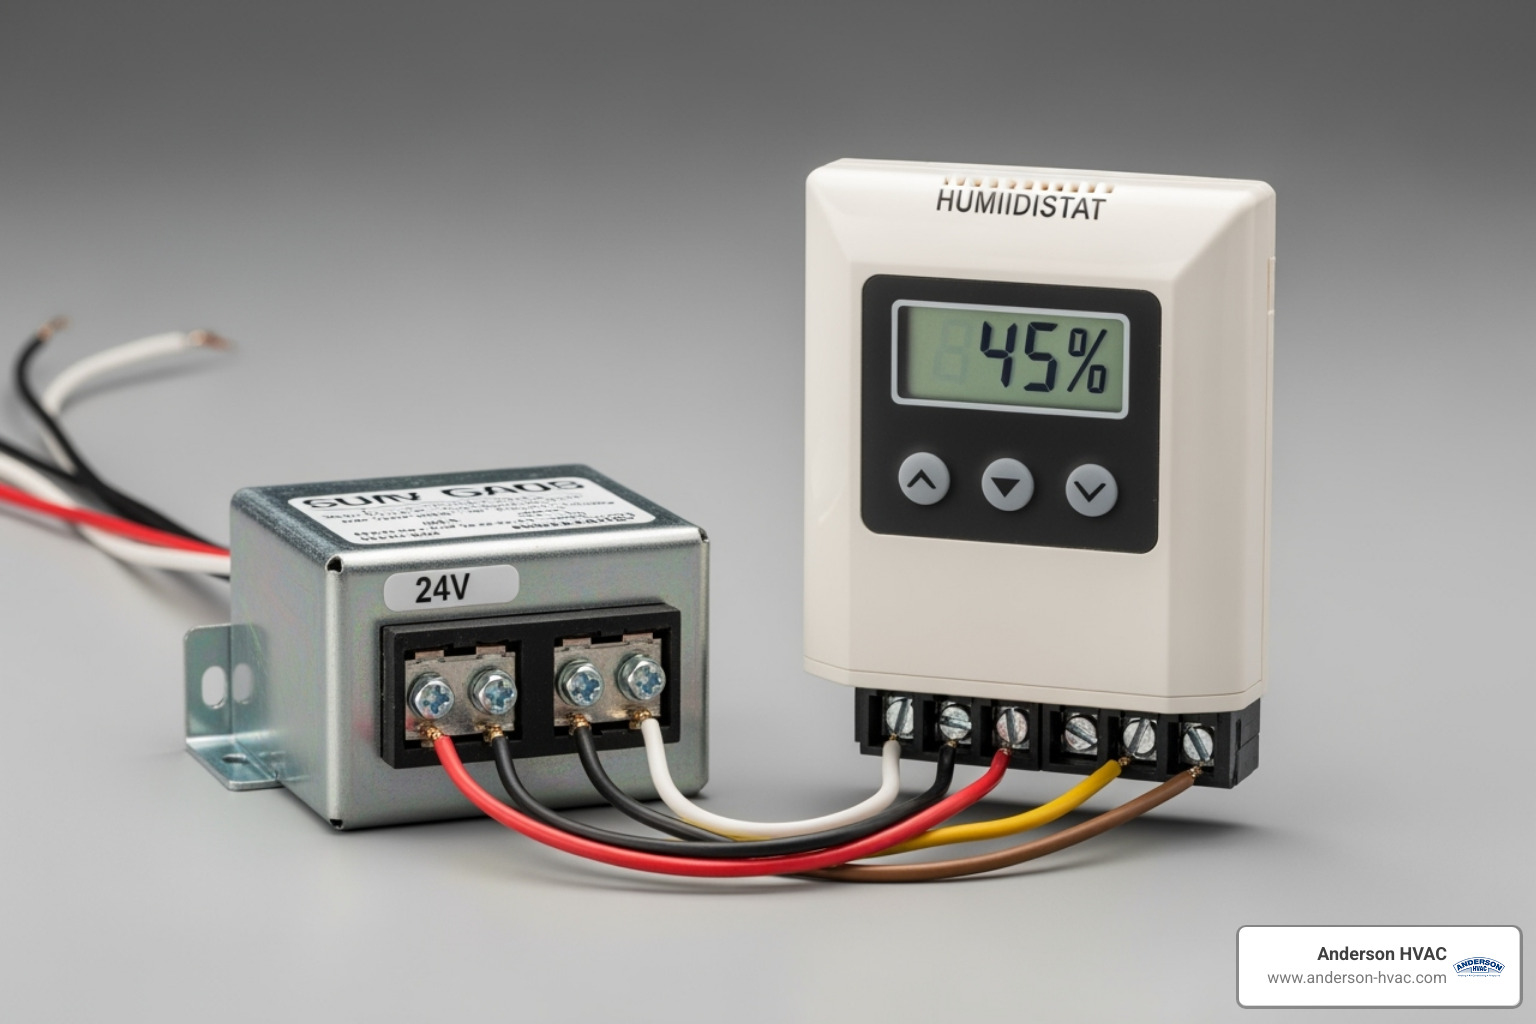
Your humidifier runs on 24 volts, supplied by a step-down transformer included in your kit. Mount this transformer near your furnace according to local codes.
Next, mount the humidistat. The most common location is on the return duct, at least a foot above the humidifier. Use the provided template to cut the opening and secure the humidistat.
Wiring the humidistat to your furnace requires 18-gauge thermostat wire. You’ll run wiring from the transformer to the humidistat, and then to the drum motor. The most efficient setup integrates with the furnace control board so the humidifier only runs when the fan is active.
When connecting to the drum motor, follow your humidifier’s specific wiring diagram exactly. Mixing up wires can cause the unit to malfunction. Double-check all connections before restoring power.
If this electrical work feels beyond your comfort zone, that’s okay. Complex wiring is what our HVAC Services North Ogden UT team handles every day. Knowing when to call a pro is a smart decision.
After the Install: Operation, Maintenance, and Troubleshooting
Your drum humidifier installation is complete! Now, let’s cover operation, maintenance, and troubleshooting to keep your home comfortable all winter. To learn more about improving your home’s air, explore our Comprehensive Indoor Air Quality Solutions and Indoor Air Quality North Ogden UT pages.
Final Checks After Your Drum Humidifier Installation
Before you relax, perform these essential final checks.
First, restoring power to your furnace at the circuit breaker. Then, slowly turn on the water supply at the ball valve, watching for any issues.
Now, it’s time for testing for leaks. Use a flashlight to inspect every water connection. If you see even a tiny drip, gently tighten the fitting. Remember: snug, not stripped.
Watch the reservoir fill to check the float operation. The water should rise to the correct level (usually around 1-3/8 inches deep) and then shut off smoothly. If not, you’ll need to adjust the float.
Next, verify the drum rotation. Turn your humidistat to its highest setting. The drum motor should engage. Most humidifiers only operate when the furnace blower is running, so you may need to turn up your thermostat to start the fan.
Finally, set your humidistat to a comfortable level, typically between 35-50% relative humidity. Start on the lower end and adjust up as needed. If you see condensation on your windows, dial it back.
Routine Maintenance and Care
Drum humidifiers are reliable, but they require simple, regular maintenance to perform at their best.

The most important task is replacing the evaporator pad annually, ideally before each heating season. Minerals from your water accumulate on the pad, turning it into a crusty, inefficient mess. If you have hard water, you may need to check it more frequently.
Cleaning the water reservoir is also critical. Standing water can grow mold and bacteria. At the end of each heating season, or whenever you see buildup, drain the unit, remove the pan, and scrub it with a 50/50 solution of white vinegar and water.
To aid in preventing mold and bacteria, you can use bacteriostatic products designed for humidifiers. These inhibit growth between cleanings.
When spring arrives, perform a proper summer shutdown procedure. Turn off the water, drain and clean the reservoir, remove the old pad, and let the unit dry. Set the humidistat to “OFF” to prevent it from running during the cooling season.
Common Troubleshooting Tips
Even a perfect drum humidifier installation can have quirks. Most issues have simple solutions.
- Water leakage is a common concern. Check all water fittings for tightness. Ensure the humidifier housing is perfectly level. Verify the float valve is shutting off the water correctly. If you used a saddle valve, replace it with a reliable ball valve.
- No water in the basin can be caused by a closed water valve, a clogged line, or a stuck float valve. Work backward from the water source to find the issue.
- If the drum motor isn’t turning, first check that the humidistat is calling for humidity and the furnace fan is running. If those are correct, re-examine your wiring. The motor itself may have failed.
- Frequent cycling often means the humidistat is set too high for current outdoor conditions. It can also indicate air leaks in your home or that the unit is undersized.
- Air leakage from ducts around the unit means you need to improve your sealing. Use HVAC foil tape to seal any gaps around the housing and bypass collar.
Frequently Asked Questions about Drum Humidifiers
We’ve helped many homeowners in North Ogden and surrounding areas with their drum humidifier installation projects. Here are answers to the most common questions to help you make informed decisions.
Can I install a drum humidifier on the warm air supply duct?
While some models can technically be mounted on the warm air supply duct, it’s generally not the most efficient choice. The return air duct (the cold air side) is the recommended location for most drum humidifiers. Cooler air absorbs moisture more effectively during the evaporation process, leading to better performance and distribution. Always check your specific model’s installation manual for the manufacturer’s best practices.
How often should I replace the drum humidifier pad?
As a general rule, you should replace the evaporator pad once per year, ideally right before the heating season begins. However, your local water quality is a major factor. If you have hard water, mineral deposits will build up much faster. Signs that it’s time for a replacement include visible white, crusty deposits on the pad, a stiff texture, or your home’s humidity levels failing to reach the set point. Homeowners with very hard water may need to replace the pad twice per season to maintain performance.
What is the ideal humidity level for my home in the winter?
The sweet spot for most homes in winter is between 35% and 50% relative humidity. This range improves comfort, protects wood furniture and floors from cracking, and can even help you feel warmer at lower thermostat settings. However, the ideal indoor humidity level changes with the outdoor temperature. If you see condensation or frost forming on your windows on a very cold day, your indoor humidity is too high. Lower your humidistat setting by 5-10% until the condensation disappears. You may need to adjust it throughout the winter as temperatures fluctuate.
Conclusion: Breathe Easier with Proper Home Humidity
A successful drum humidifier installation transforms your home’s winter comfort, providing benefits like easier breathing, protected wood floors, and reduced static electricity. This guide has walked you through the key steps, from planning to maintenance.
The project involves precision work with ductwork, plumbing, and electrical systems. While manageable for a skilled DIYer, these tasks require care and attention to detail to avoid common pitfalls.
While a DIY installation is possible, professional service ensures the job is done safely and efficiently, protecting your warranty and providing peace of mind. There’s no risk of leaks, electrical problems, or inefficient operation.
As a family-owned business with over 40 years of experience serving North Ogden and surrounding communities, Anderson HVAC understands the importance of home comfort. We offer expert drum humidifier installation and guidance on all Indoor Air Quality Solutions.
Ready to say goodbye to dry winter air? Schedule HVAC Service with us today. Let our team help you find the perfect humidification solution for your home. Explore our Comprehensive IAQ Solutions to create a healthier, more comfortable indoor environment for your family.


